Register with Source
Forge:
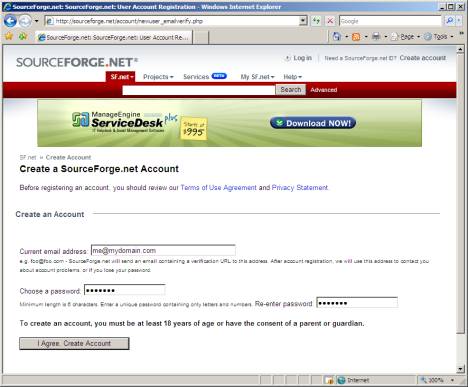
If you are not yet register with SourceForge.net, go to the following page and signup for a new account:
Installing Tortoise
CVS: 
Step 1 - Download and install the latest distribution of Tortoise CVS from their website at www.tortoisecvs.org . At the time of writing of this tutorial, the latest stable version is Version 1.8.31, which can be downloaded at:
http://prdownloads.sourceforge.net/tortoisecvs/TortoiseCVS-1.8.31.exe
Step 2 – Run the executable to install the software on your local PC. You will see the following:
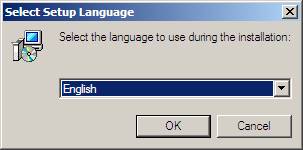
Click on OK to see the following screen:

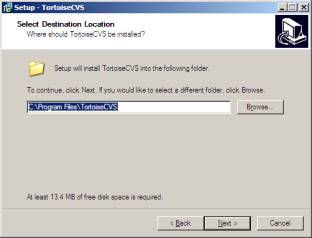
Click on Next to continue. You will see a screen asking you for an install location. Choose the default path and click Next:
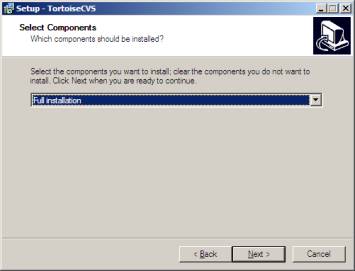
Choose “Full Installation” and click next to continue:
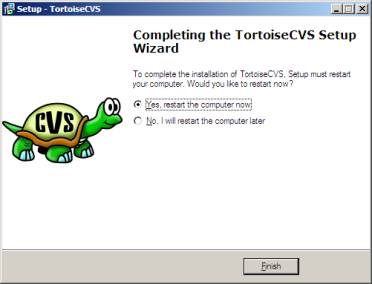
The installer will then install the required files on your PC. You will be asked to reboot your machine when the installer is done. Restart your PC and you are done!
Checking Out the
Project Source Files from Source Forge CVS:
Step 1 - Navigate to a folder on your machine where you want the project files to be placed. If your project is a web based project, you want to place the folder inside the “wwwroot” or “htdocs” folder of your web server (depending on is you use an IIS web server or an Apache web server. If using an IIS web server, make sure to add the folder through the IIS Manager by going to:
Control Panel > Administrative Tools > Internet Information Services
Right click on your website, choose New > Virtual Directory to add a new folder:
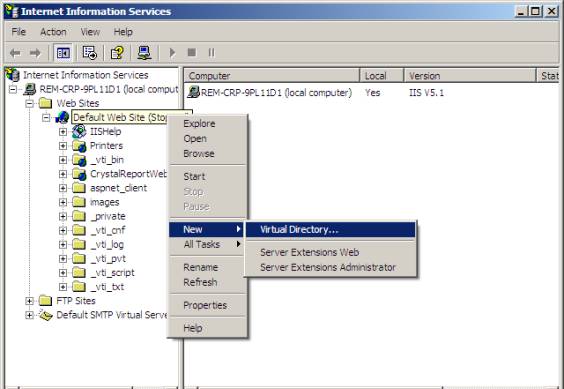
Also, make sure your web server is running before moving on to the next step.
If your application however is a stand-alone windows application, you can place it anywhere on your PC, inside your development folder on your hard drive.
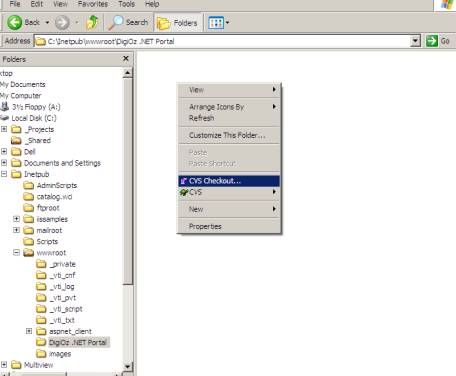
Step 2 – Navigate to the folder you have selected for your project and Right-Click inside of it in Windows Explorer. Choose the “CVS Checkout” option on the context menu:
Step 3 – You will see the following screen when you click the “CVS Checkout …” option:
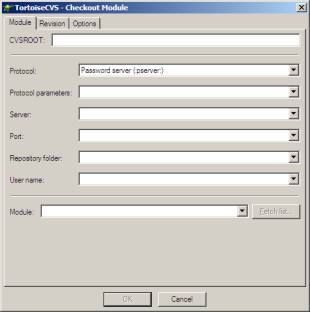
Enter the following information ONLY in the fields specified. Tortoise CVS by default auto populate some of the fields NOT specified bellow based on what you enter in the specified fields. Do NOT modify auto-populated fields:
Anonymous Access:
Protocol: Password server (:Pserver:)
Server: PROJECTNAME.cvs.sourceforge.net
Port: 2401
Repository folder: /cvsroot/PROJECTNAME
Username: anonymous
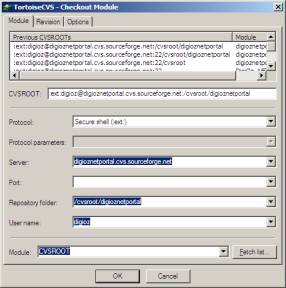
Developer Access:
Protocol: Secure shell (:ext:)
Server: PROJECTNAME.cvs.sourceforge.net
Port: 22
Repository folder: /cvsroot/PROJECTNAME
Username: YOUR_REGISTERED_USERNAME
The end result for Developer Access should look something like this, where PROJECTNAME is the Source Forge “UNIX” project name (no spaces allowed) and YOUR_REGISTERED_USERNAME is the username you registered with Source Forge in Part I of the tutorial.

Click on the Fetch list button, and you will see the following screen:
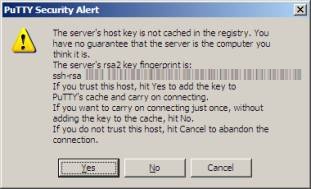
Click on Yes, and you will be given a password screen. Enter your password there:

You may be asked for your password more then one time. Enter it every time and hit ok. If everything goes well, Tortoise CVS will populate the “Module” combo box with a list of projects on that CVS Host. Select the “CVS_FOLDER_NAME” option from the dropdown list, where CVS_FOLDER_NAME is whatever you called the CVS folder.
As an example, here is how the screen would look for an actual registered project and username for a developer:
You will be asked for your password one more time and then see the following screen:
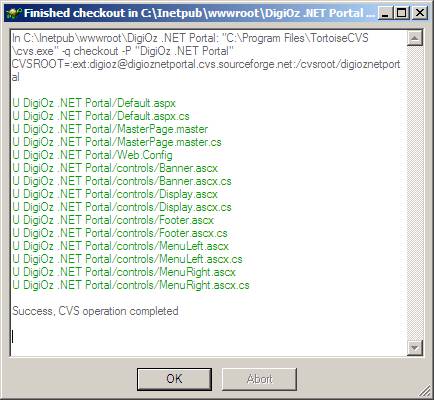
Say “OK” and you are done, ready to do work on the project locally. J