How To Create a Custom DLL
Using VB.NET 2003 / 2005
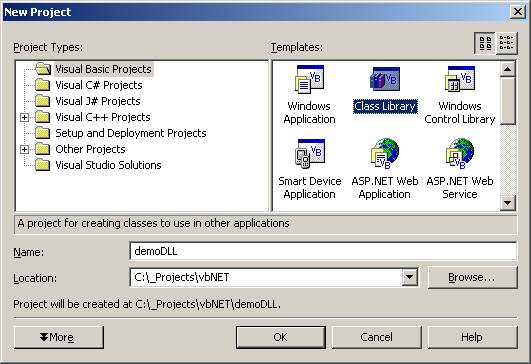
Step 1: Startup VS.NET and click on “New Project”.
Step 2: Select “Visual Basic Project” from the Project Types menu, and choose “Class Library”. Name the project “demoDLL” and hit the “OK” button to begin.
Step 3: By default Visual Studio creates the following for you:
For the purpose of our demo DLL, enter the following code:
All this is doing is to create 3 variables, var1, var2 and result, and provides 4 functions to add, subtract, multiply or divide those numbers together. Now lets build our DLL.
Step 4: From the top menu, choose “Build” and click on “Build demoDLL”:
Once the demoDLL is built successfully, save everything and exit. You have now succeeded in creating a custom DLL! Congratulations!
Now lets put this new DLL to the test.
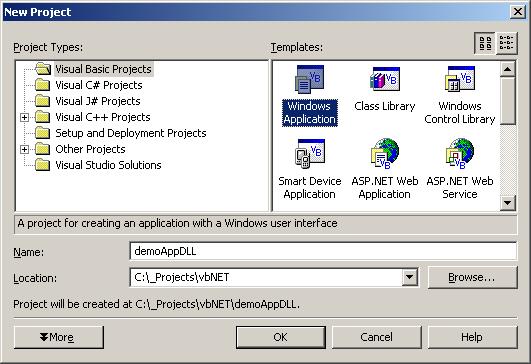
Step 5: Create a brand new “Windows Application” project and call it demoAppDLL.
Step 6: In the “Solution Explorer” menu, right click and expand “References” and click on “Add Reference”:
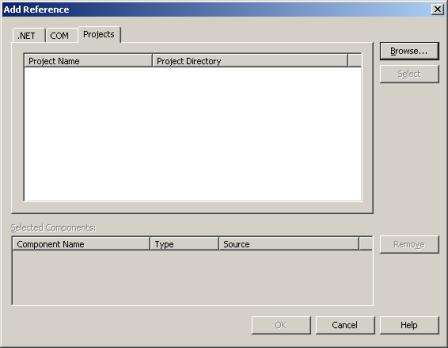
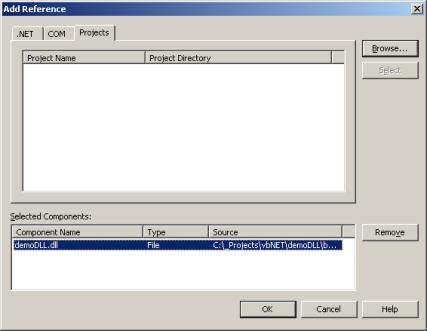
Step 7: Click on the “Projects” tab in the popup screen. You will see the following screen when you do that:
Step 8: Click on the “Browse” button on the “Projects” tab. You will get the screen bellow:
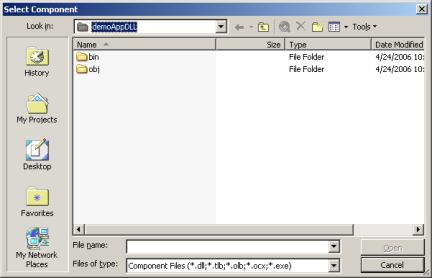
Step 9: Navigate to the “bin” directory of the previously created “demoDLL” and select the demoDLL.dll file. Once you have that file selected, click on the “Open” button, followed by a click on the “OK” button on the form bellow it. This will add a reference to your previously created custom DLL to your Windows Application.
Step 10: Right-Click on the demoDLL reference that was added to the project and choose “View in Object Browser”.
Here is what you will see in the Object Browser Window, when you do that, if you expand the demoDLL tree node, and click on “Class1”:
What the above overview is basically telling you, is that there are 4 custom Public Functions available to you through this custom DLL, and a default “New()” constructor function for creating a new instance of this class.
In addition, you have 3 variables available to you. If you now click on one of them, say “result”, your screen will change to the following:
The gray area at the bottom of that window will tell you that the variable is a Public variable declared with a data type of “double”, and is a member of the demoDLL.Class1 custom DLL. Pretty neat, huh?
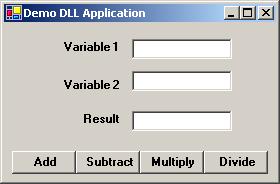
Step 11: Add 3 lables, and call them lblVar1, lblVar2 and lblResult. Also add 3 textboxes, and call them txtVar1, txtVar2 and txtResult. Lastly, add 4 command button and call them btnAdd, btnSubtract, btnMultiply, and btnDivide. Here is how your form will look:
Step 12: Add the following code to the application’s code section:
Step 13: In the above code, the line “Dim oDemoDLL As New demoDLL.Class1” creates an object of the class type “Class1”, which is located inside the demoDLL library that we have referenced, and makes it a module level variable. Subsequent lines assign values to “var1” and “var2” and call the respective functions to add, subtract, multiply or divide the values and assign the result value to the txtResult textbox.
Once you have entered the above code, compile / run the application.
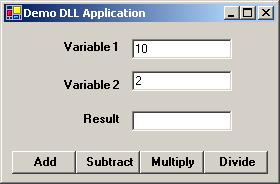
Step 14: Enter “10” in the textbox for Variable 1, and “2” in the textbox for Variable 2.
Step 15: Click on the “Add”, “Subtract”, “Multiply” and “Divide” buttons one by one, and you will get the following results:
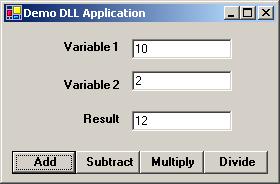
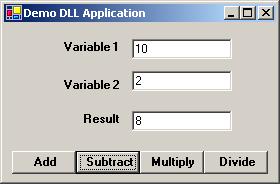
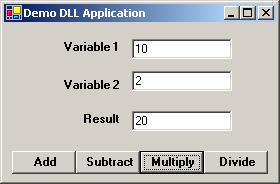
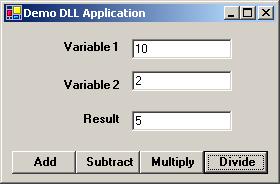
These results are correct, which means our custom DLL is
coded correctly and is ready for release. ![]()
Comments?
Questions? Issues?
DigiOz
Multimedia
April
27th, 2006